Selecting the Right Sleeping Bag for Backpacking Adventures
When I first began backpacking, selecting the right gear felt incredibly daunting. At first glance, it might seem simple—like just picking a sleeping bag—but the reality involves dozens of small decisions, each with subtle differences that can quickly become overwhelming. So how do you even begin?
By identifying the environments where you’ll typically be backpacking, this guide can help you reverse-engineer the ideal bag for your needs. While other elements—such as base layers and sleeping pads—can influence your sleep system, this approach provides a reliable foundation to begin with.
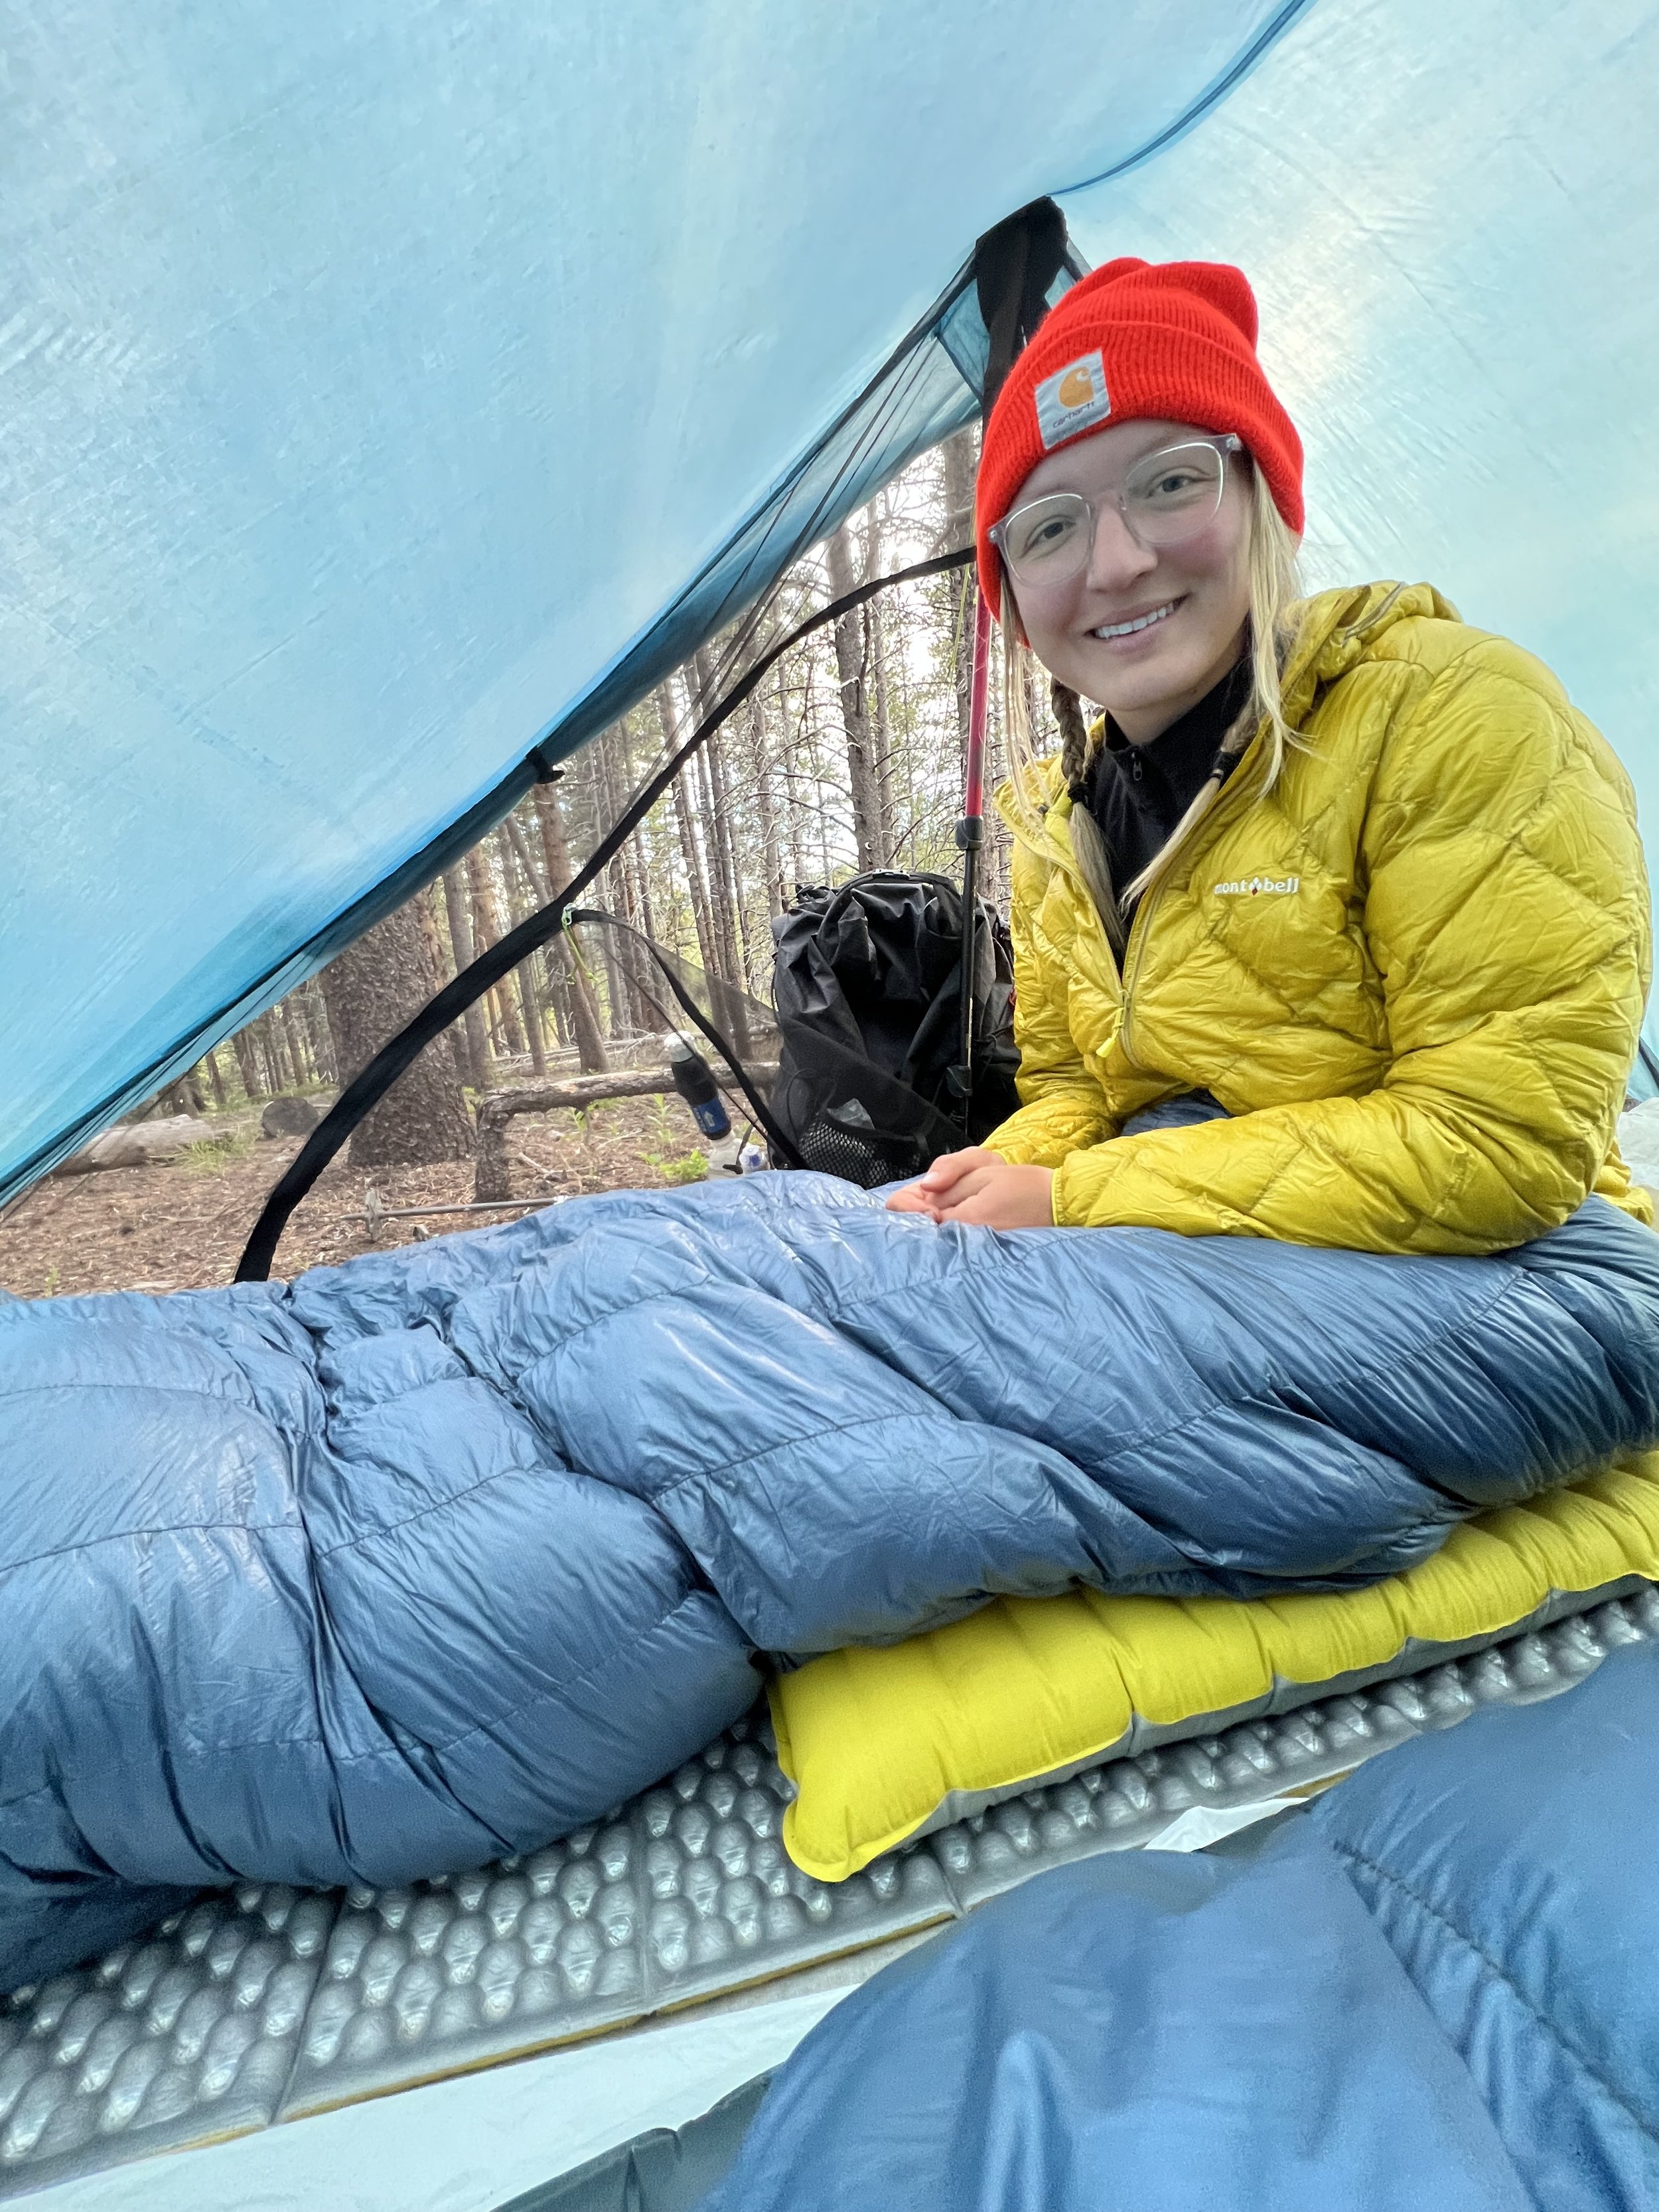
Settling in for the night along the CDT in Colorado with my Zpacks Classic 5-degree sleeping bag.
How to decide between synthetic and down sleeping bags
When choosing a sleeping bag, one of the initial choices you’ll face is selecting between down or synthetic insulation. Both options have advantages and drawbacks, but down is typically the preferred choice for long-distance backpacking. To see why, consider the benefits of down sleeping bags. Most notably, down offers superior warmth-to-weight ratio compared to synthetic alternatives. It provides the most efficient lightweight insulation available. Additionally, down compresses more tightly, saving space in your pack and leaving room for essentials like food. With proper maintenance—such as correct washing and storage—a down sleeping bag also tends to outlast synthetic models, delivering reliable performance for years.
You might be wondering, are down bags flawless? While they’re excellent, they do have some downsides. A significant issue is that down loses its insulating properties when wet. If your sleeping bag gets drenched in a downpour, you’ll need an alternative for the night. Using proper shelters and backpacks can help avoid this, but it’s something to consider if you’re trekking in persistently damp and chilly environments (like the late shoulder season in the North Cascades). Down bags also demand careful upkeep—they need specialized detergents for washing and shouldn’t be stored compressed. Additionally, down is pricier than synthetic, though with proper care, it can last for years. Lastly, down isn’t an option for those with allergies to it.
This highlights the advantages of synthetic insulation. Compared to down, the synthetic materials in sleeping bags repel water and retain warmth even when damp. As a result, down bags are perfect for situations where moisture exposure is likely. Additionally, synthetic bags tend to be less expensive than down-filled ones, since their materials are more readily available—no geese or ducks required. Moreover, synthetic is the better choice for those with a down allergy.
That said, synthetic filling naturally comes with its own drawbacks. It provides less warmth and is heavier. Additionally, it’s bulkier, making it less ideal for backpacking when lightweight gear and compactness are essential. Synthetic insulation also lacks the durability of down—its insulating ability diminishes slightly with each compression.
What should a backpacker choose? If your budget allows, opt for a down sleeping bag and be diligent about keeping it dry, especially in rainy environments. My preferred method is using a trash compactor bag inside my pack—it’s lighter than dry bags and just as effective.
TLDR:
Down
Pros:
-
Lighter for more warmth
-
Compresses with ease
-
With proper care, it can remain in good condition for many years.
Endures for an extended period (with proper maintenance, it can remain functional for many years)
Cons:
-
Loses insulation properties when exposed to moisture
-
Necessitates specific upkeep
-
Possible allergic reactions to consider
-
Costlier
Synthetic
Pros:
-
Able to resist water penetration
-
Maintains insulation even when exposed to moisture
-
Hypoallergenic
Cons:
-
Cooler for greater mass
-
Large and cumbersome
-
Loses thermal resistance gradually with prolonged use

Spending the night at Capitol Lake using my Katabatic Sawatch 15-degree quilt.
Deciding whether to opt for a quilt or a conventional sleeping bag
Over the past few years, quilts have surged in popularity among backpackers. They’re innovative, trendy, and, most crucially—they offer a way to reduce your base weight by a few ounces. But what exactly are they? And how do they differ from traditional sleeping bags?
A quilt is essentially a down blanket that eliminates the back section of a sleeping bag. Since the insulation beneath you gets compressed while sleeping, it offers minimal warmth. By using a quilt, you remove this redundant layer of insulation and fabric, lightening your pack without sacrificing much (if any) heat retention. Many quilts feature snug foot boxes and additional straps to secure you inside and partially attach to your sleeping pad, minimizing drafts and ensuring warmth throughout the night. That said, quilts vary in quality—some may be prone to drafts based on their construction, so checking reviews before purchasing is advisable.
Since everyone likely knows what a typical sleeping bag looks like, I’ll keep this short. The key distinctions are between mummy bags (featuring enclosed hoods) and non-mummy bags. Mummy bags excel for winter camping and those who prefer a tight, cozy fit outdoors, though the additional fabric does increase the overall weight.
No matter the circumstances, conventional sleeping bags will zip up completely and invariably feature enclosed foot boxes, reducing the likelihood of drafts.
The decision ultimately depends on personal preference. If you enjoy being snugly wrapped like an infant while sleeping, you’ll probably lean toward the mummy bag side. On the other hand, if you prefer the flexibility to occasionally kick a leg out from under your covers, a quilt might suit you better. Many suggest that quilts are ideal for restless sleepers, but I disagree—this can create more chances for drafts, making a conventional sleeping bag a more reliable choice. While opting for a quilt might shave off some weight, that isn’t always the case.
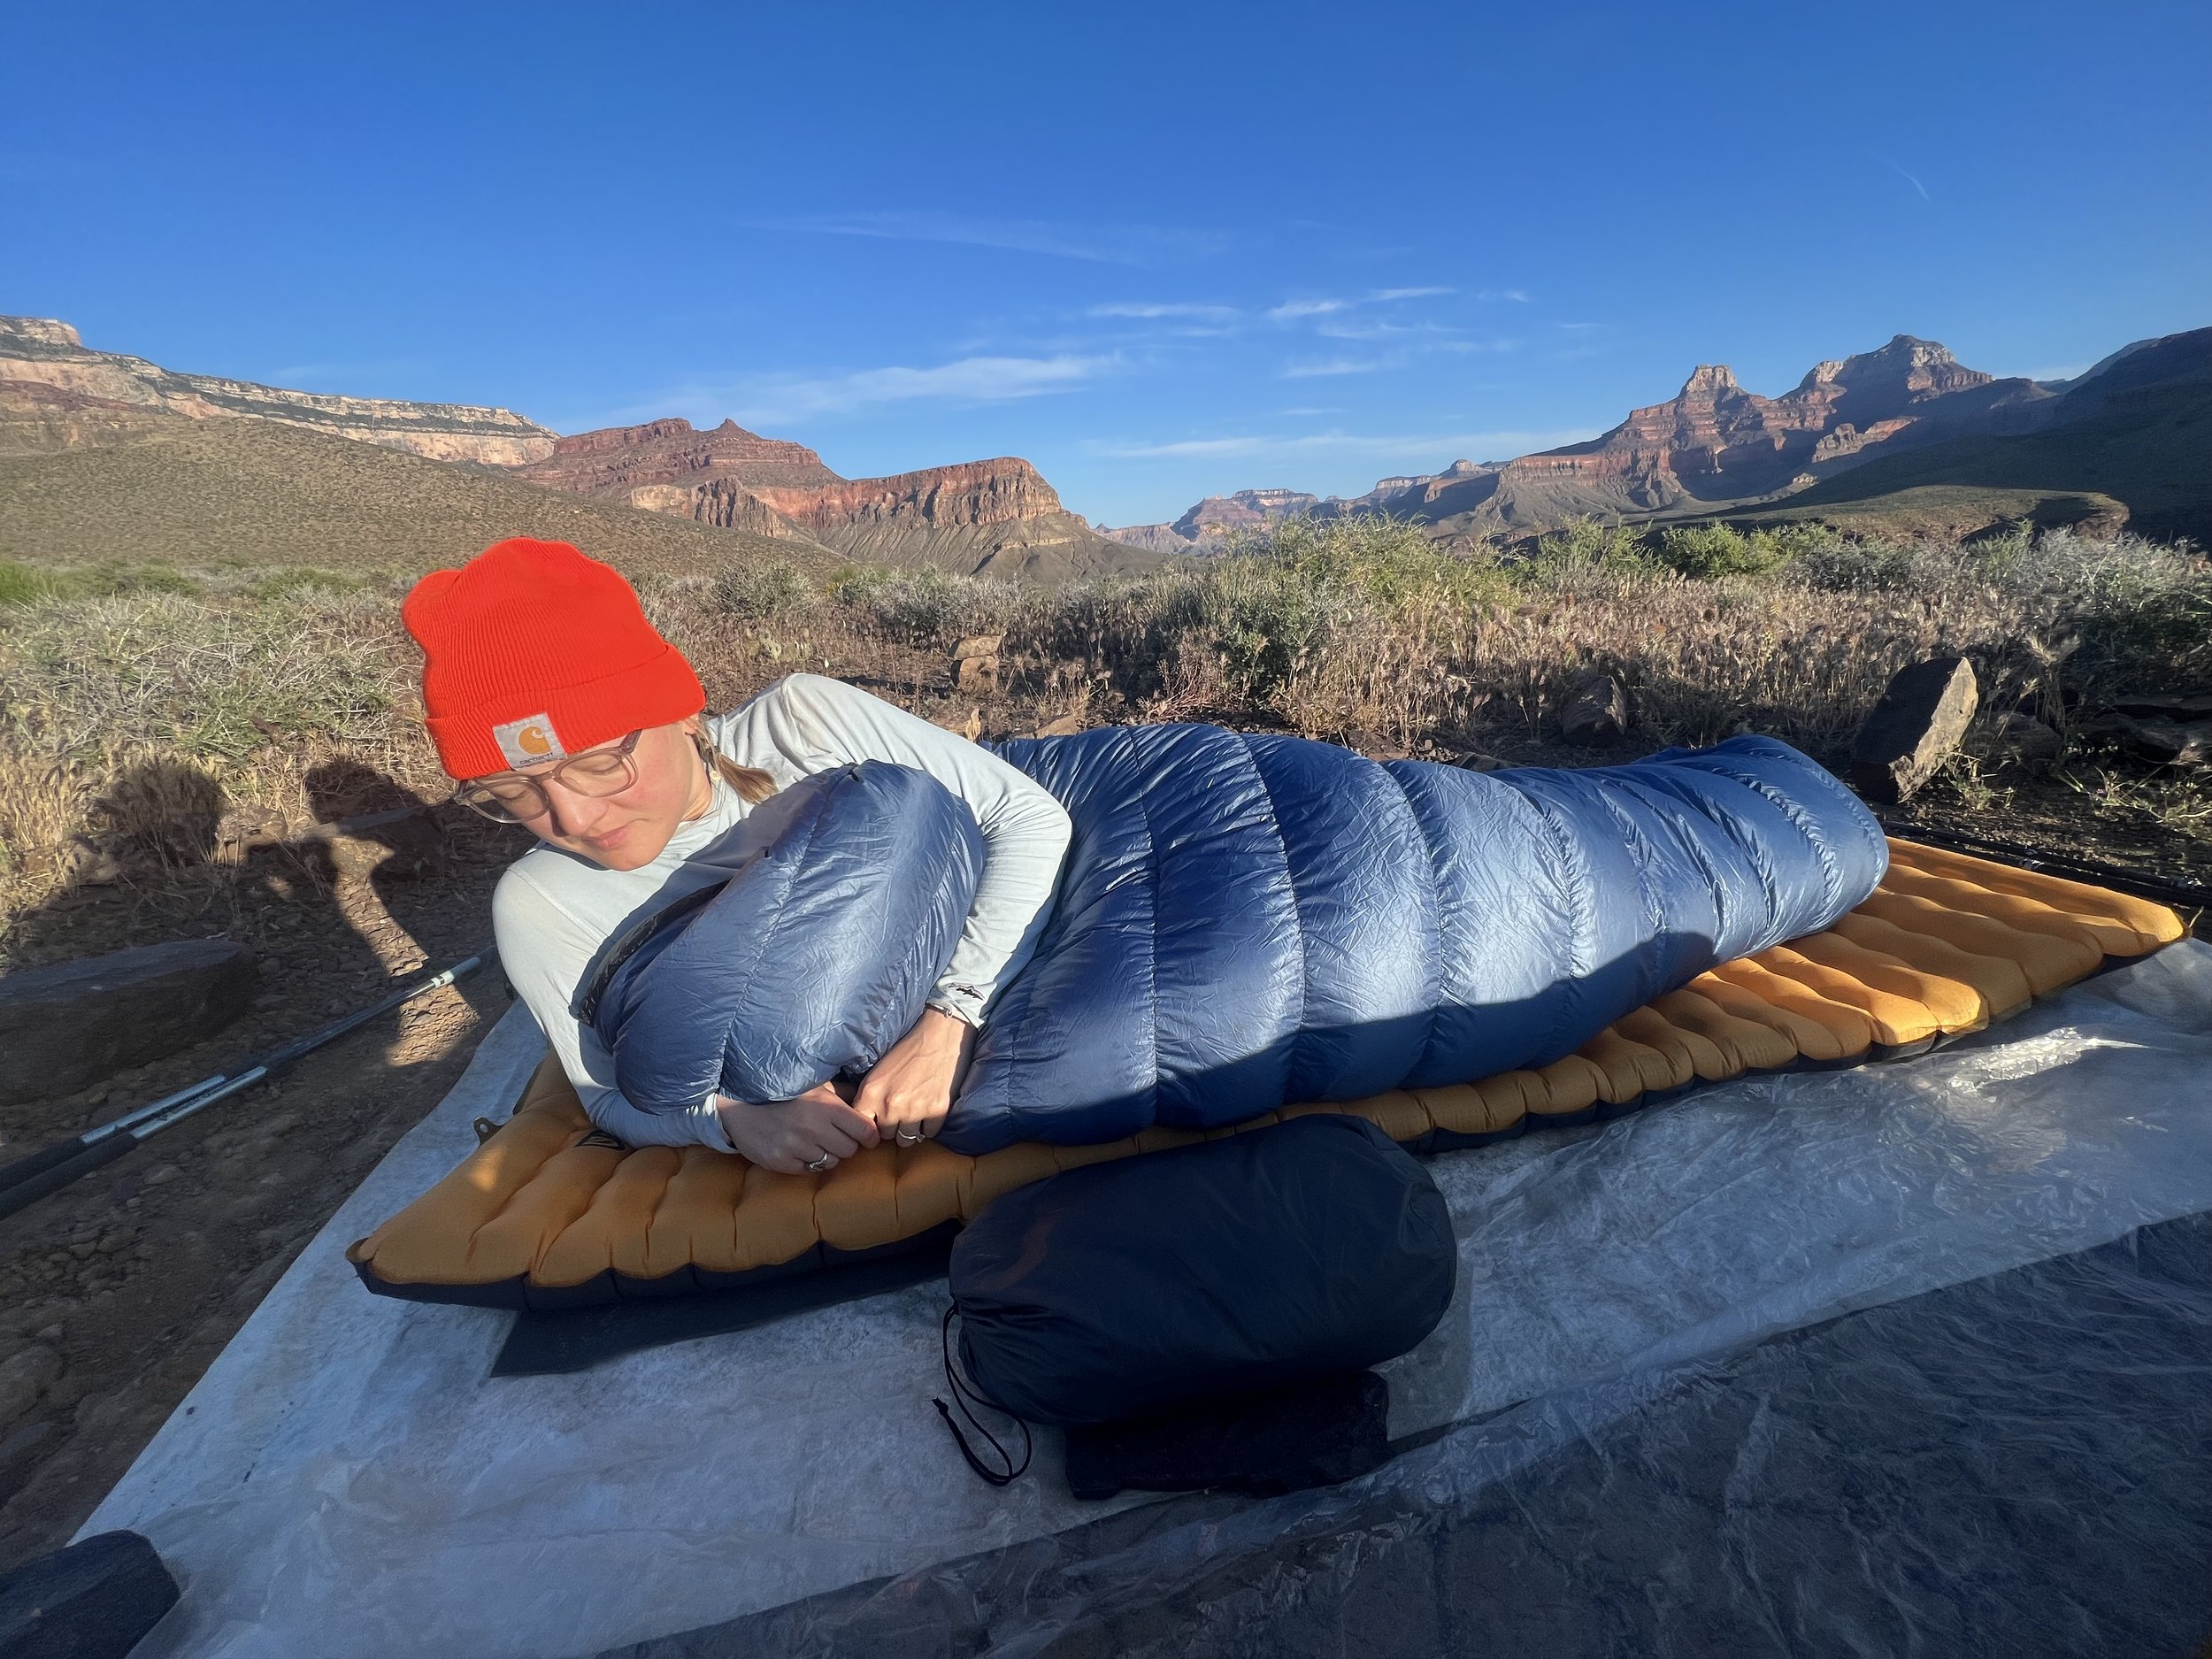
Sleeping under the stars in the Grand Canyon with my Katabatic Sawatch 15 degree quilt.
Selecting the right temperature rating for your sleeping bag
A temperature rating specifies the minimum temperature at which a sleeping bag can keep an average person warm. For instance, a 5-degree bag is designed to provide warmth at 5 degrees but not below that. It also means a 5-degree bag offers more insulation than a 30-degree one. As a beginner backpacker learning about temperature ratings, I realized two important points—standardization of these ratings matters (more on this later) and understanding your personal comfort level compared to the average sleeper is crucial. I tend to feel cold easily; even slight drops in temperature make me shiver, so I prefer a bag rated 20-25 degrees lower than the actual temperature to stay cozy. While I could technically endure the rated temperature, the goal isn’t just survival—it’s enjoying the trip. That’s why, for 30-degree weather, I opt for a 5-degree bag to ensure comfort.
Let’s discuss temperature rating standards, as none of this matters if sleeping bag manufacturers simply assign arbitrary temperatures to their products. The two primary standardization systems are EN (European Norm) and ISO (International Organization for Standardization). These are the most recognized benchmarks for bag ratings, typically including a “comfort” rating (ideal for cold sleepers) and a “limit” rating (suited for those who sleep warmer and can use lighter bags). If a bag lacks one of these standardized ratings, it’s wise to choose a warmer option than usual and check multiple reviews. Cooling down by loosening your bag or venting is far simpler than dealing with the discomfort—or potential risk—of a bag that doesn’t provide enough warmth.
Appreciate your patience while I covered temp ratings—now let’s dive into the specifics of which temperature ratings to consider based on the season and regions you’ll be backpacking in.
A general guideline (adapt according to your individual comfort with temperature):
Sleeping bags rated for 20 degrees Fahrenheit or below:commonly utilized in colder climates (winter, early spring, late autumn) and high-altitude environments.
Sleeping bags rated for temperatures between 20 and 32 degrees:Ideal for genuine shoulder seasons and elevated terrains
Sleeping bags rated for 32 degrees Fahrenheit and higher:Utilized during warmer months and at reduced altitudes
For an average sleeper in need of a three-season bag (ideal for a thru-hike), a temperature rating between 20 and 32 degrees is recommended.
From my own experience—I opted for a 5-degree sleeping bag on the PCT since, as I mentioned, I’m constantly cold. It was slightly excessive in some summer stretches, but I’d simply leave the zipper open or treat it like a blanket on hotter evenings. The extra warmth proved invaluable by the time October arrived in Washington.

Camping under the stars in the San Juans along the CDT during late May (brought a liner for additional warmth).
Selecting the ideal fill power and fill weight for your sleeping bag
Fill power and weight are terms specific to down sleeping bags, and understanding these measurements is essential when selecting the ideal bag for your needs.
Fill powerpertains to thequalityThe loft of the down is determined by the volume occupied by 1 ounce of down. A higher fill power results in a lighter and more compressible sleeping bag.
Net weightrefers to theamountThe amount of down in a comforter determines its fill weight, which directly influences how warm it is. Fill weight is quantified by the ounces of down used.
Although fill weight primarily determines warmth, greater fill powers enhance insulation efficiency with less weight.
In the simplest terms: Greater loft between the down fibers improves insulation, resulting in a sleeping bag that is both lighter and warmer.
When applying this to a real-world scenario: if you’re personalizing a bag and aim for a 10-degree rating, opting for 950 fill power over 850 will achieve the same temperature rating with reduced fill weight.
Selecting the right sleeping bag size for your needs
Selecting the right sleeping bag size is simple (refer to the gear company’s size guides), though there are some helpful tips to consider.
Your height determines the length, though stomach sleepers should account for a few extra inches.
Width is calculated based on, as you might expect, your body’s width—generally, you should measure the broadest section of your frame (including your arms resting naturally at your sides). If you tend to shift positions frequently while sleeping, remember to include a couple of extra inches in your measurement.
Pro tip: many cottage gear brands are sold exclusively online, making it difficult to judge comfort. To solve this, you can either 1) visit a retailer like REI to try out bags in person (and record their dimensions) or 2) use safety pins to adjust a sheet at home, simulating different widths to gauge comfort.
How to select a sleeping bag according to weight and price
This is where it becomes tricky. Nearly every decision you make will influence these two critical aspects. An ideal weight for a down backpacking sleeping bag is less than 2 pounds, though lighter options usually come at a higher price. In my opinion, it’s wise to spend on high-quality gear you’ll truly enjoy, since purchasing a single $400 bag is more economical than buying three at $150 each.
The most affordable sleeping bags are usually heavier and made of synthetic materials, whereas lightweight down-filled options tend to be more expensive.
If you’re just starting out with backpacking and hesitant to invest in a high-end, 950 fill power, 10-degree, $400 down sleeping bag—check out second-hand choices on Facebook Marketplace or resale platforms. Certain cities also feature gear consignment shops offering quality pre-owned equipment at budget-friendly rates. Additionally, planning ahead lets you take advantage of sales (Black Friday is an excellent opportunity to purchase off-season gear).
